
To cut large video files without re-encoding, use LosslessCut, a free and open source tool that trims videos in seconds instead of hours. It works by copying the original video and audio streams into a new file, so there is no full rendering process, no long export wait, and no quality loss. In this guide, I will show you exactly how I trimmed a 21GB screen recording in 49 seconds, a job that Premiere Pro estimated would take about an hour.
The Problem: A 21GB Video That Runs Almost 6 Hours
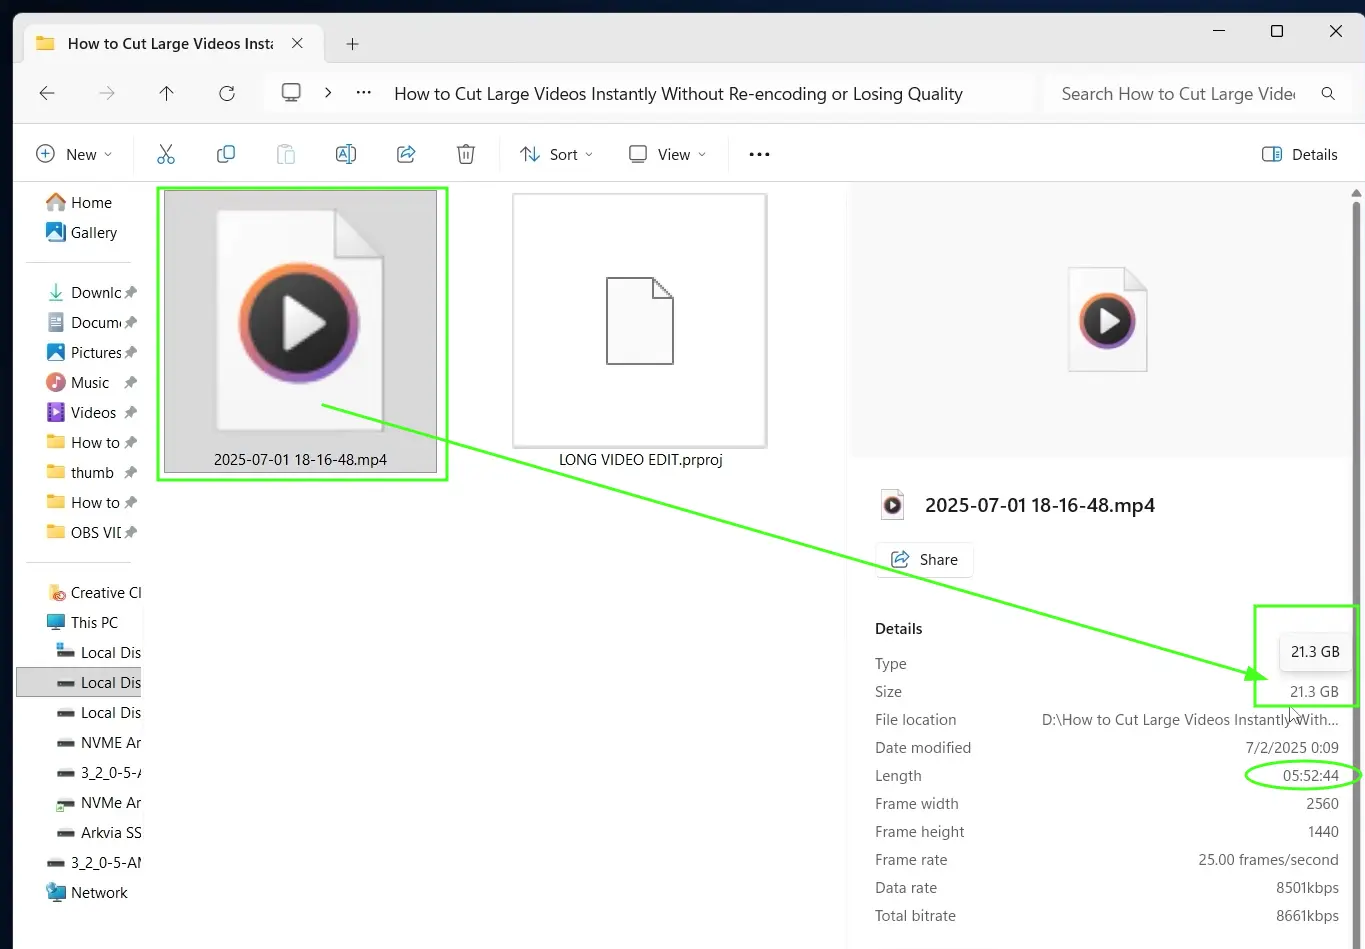
I left my screen recorder running and ended up with a massive MP4 file: 21GB in size, with a total length of 5 hours and 52 minutes. Out of that nearly 6-hour recording, I only needed about 42 minutes.
The usual answer is to load the file into a video editor like Premiere Pro or CapCut, set in and out points, and export. But there is a catch. Traditional editors re-encode the video on export, which means the software decodes and rebuilds every single frame. When I tested this exact cut in Premiere Pro, the estimated export time was about 1 hour. That is a long wait just to throw away footage, and re-encoding can also introduce a small quality loss.
The Solution: LosslessCut
LosslessCut is a free, open source tool built for exactly this situation. It is available for Windows, macOS, and Linux, and at the time of writing the latest version is 3.69.
How LosslessCut Works: Stream Copying Instead of Rendering
LosslessCut uses a technique called stream copying. Instead of decoding and re-encoding every frame, it copies the selected video and audio streams directly into a new output file. It still exports and creates a new file, but it skips the complete render process. That is why a cut that takes an hour in a traditional editor finishes in seconds, and why the output keeps 100% of the original quality.
One thing to keep in mind: cuts in LosslessCut snap to keyframes. This method is built for speed and quality, not for frame-perfect precision editing. For trimming screen recordings, gameplay footage, webinars, and long streams, that trade-off is almost never a problem.
How to Cut a Large Video File Without Re-Encoding (Step by Step)
Step 1: Download LosslessCut
Go to the official GitHub releases page and download the latest version for your platform: github.com/mifi/lossless-cut/releases. For Windows, grab the Windows 64-bit package. The software is completely free and open source, so you do not have to pay anything.
Download LosslessCut Github Direct Download LosslessCut WIN Direct Download LosslessCut WINStep 2: Extract and Open the Application
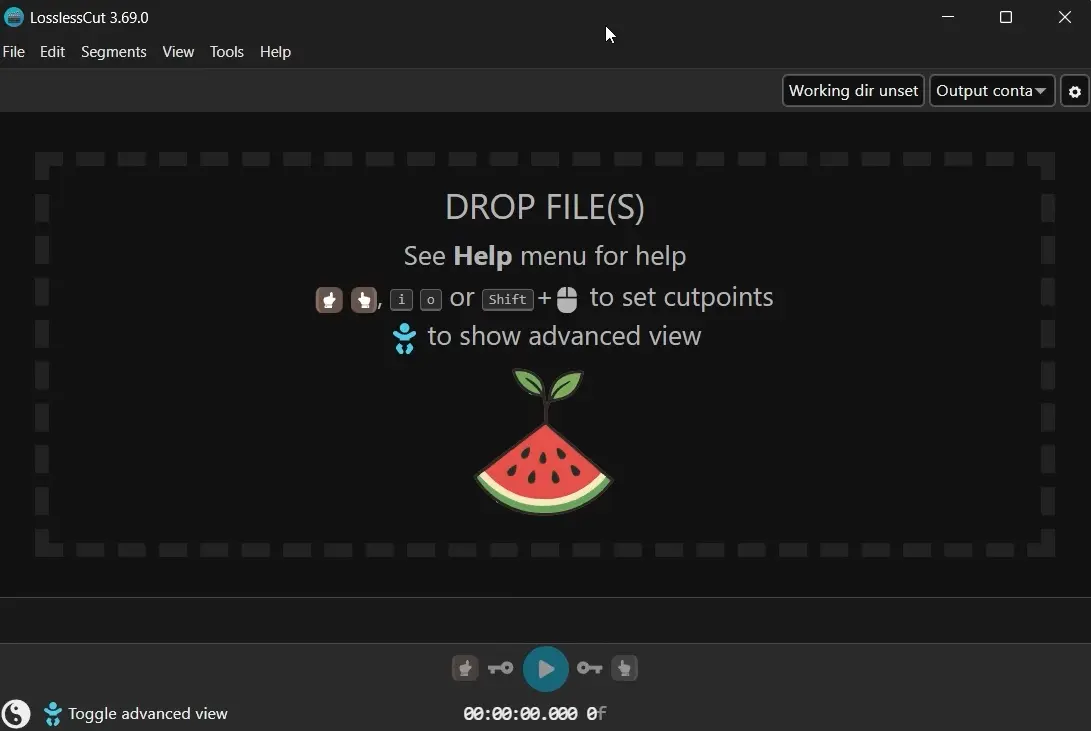
There is no complex installation. Extract the downloaded archive to a folder and double-click the LosslessCut executable. The app opens in a few seconds.
Step 3: Import Your Large Video
Drag and drop your video file directly into the LosslessCut window. Even my 21GB file loaded instantly, because the app does not need to process the whole video to open it.
Step 4: Select the Section You Want to Keep
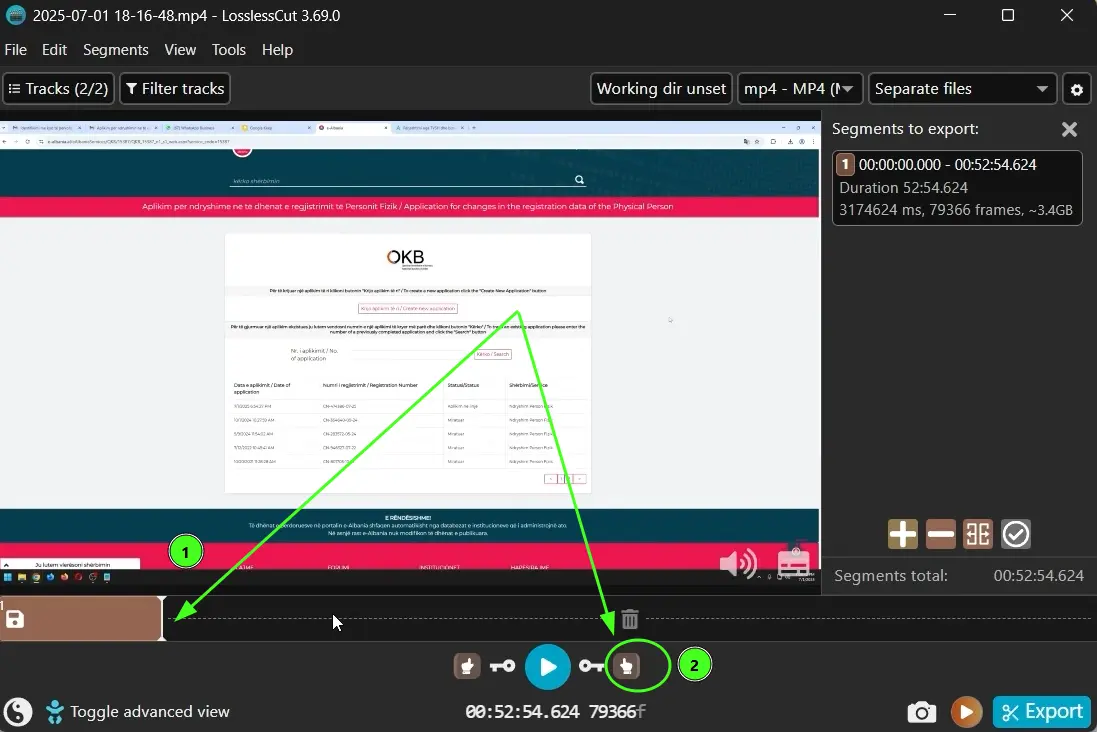
Move the playhead to where your needed section ends, then use the segment buttons to mark the part you want to keep and remove the rest. In my case, I kept the first 42 minutes and cut away more than 5 hours of footage.
Step 5: Export Without Re-Encoding
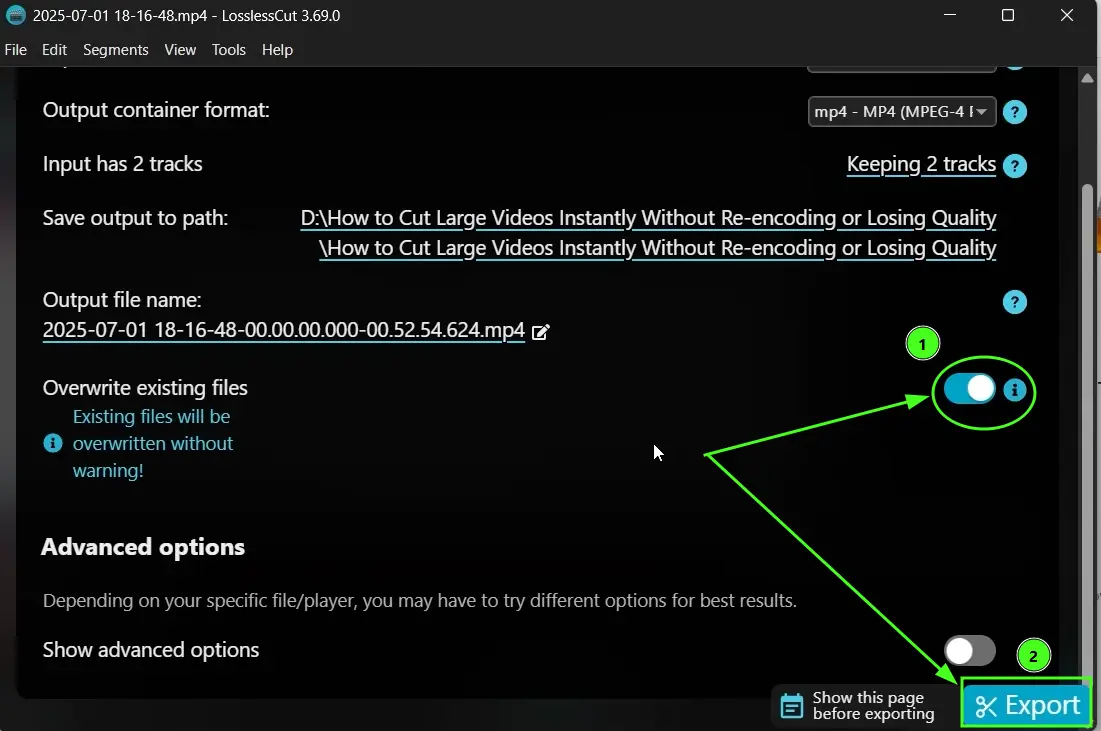
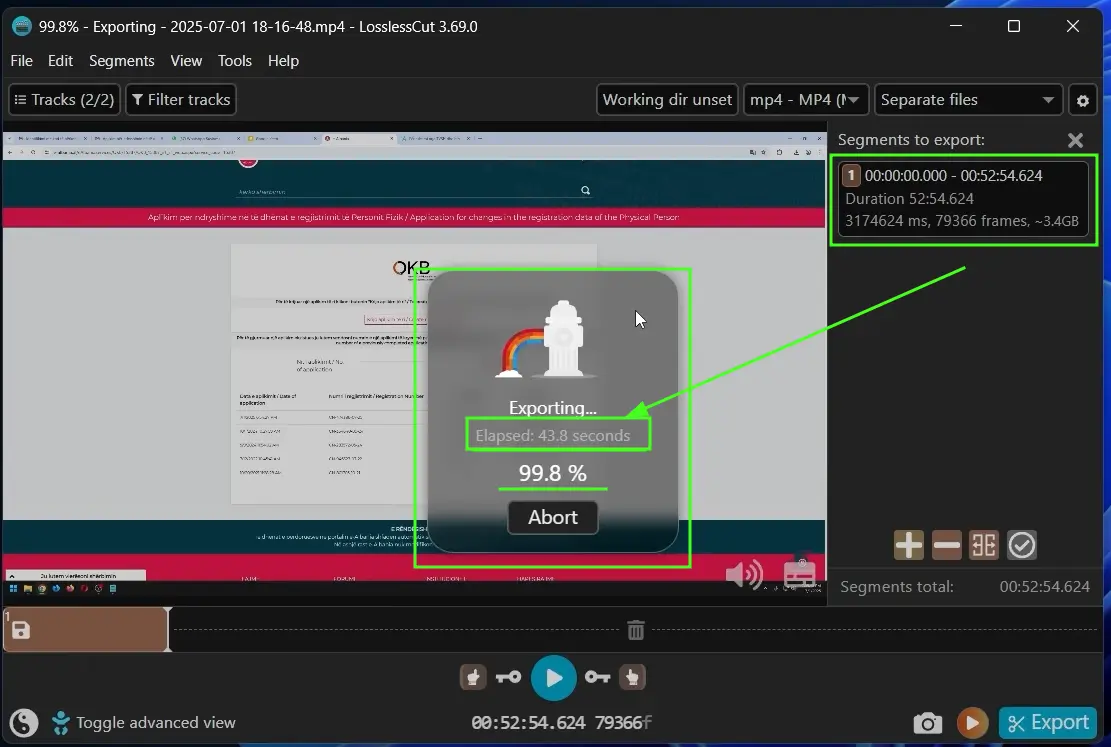
Keep the output format set to MP4, exactly as the source. I also enabled the option to overwrite existing files without warning to keep the process fast. Then click Export. Unlike a normal editor, this export does not re-render anything, so watch how quickly the progress bar moves.
Test Results: 44 Seconds Instead of 1 Hour
Here are the real numbers from my test, so you can see what to expect:
| Metric | Result |
|---|---|
| Original file | MP4, 21GB, 5 hours 52 minutes |
| Section kept | 52 minutes |
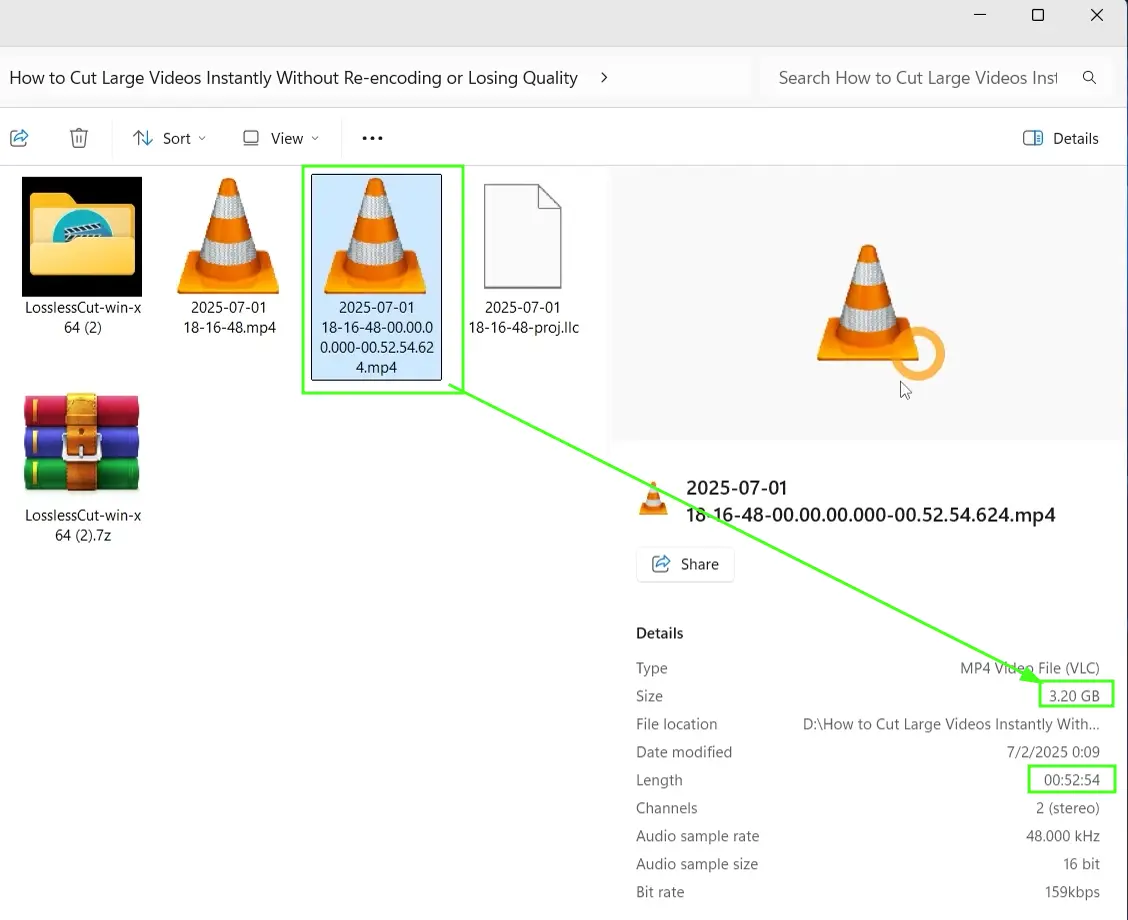
| Output file size | 3.2GB |
| Premiere Pro estimated export | About 1 hour |
| LosslessCut processing time | 44 seconds |
| Quality | Original streams copied, zero quality loss |
| Platform tested | Windows (also available for macOS and Linux) |
When the export finished, I opened the new file in a media player to verify it: exactly 52 minutes long, 3.2GB, and visually identical to the original recording. The original 21GB file stays untouched on your drive, so you can always go back to it.
Who Is This Method For?
Stream copying is the perfect workflow whenever you need to trim large files fast: content creators cutting long screen recordings, gamers clipping hours of gameplay, teachers and professionals splitting webinar or meeting recordings, and anyone archiving long footage who wants smaller files without touching the quality. If you need transitions, titles, color grading, or frame-exact cuts, a full editor is still the right tool. But for pure trimming, nothing beats this speed.
Frequently Asked Questions
Can I cut a video without exporting it again?
You always get a new output file, but LosslessCut uses stream copying instead of a complete render and re-encoding process. That is why a cut that takes an hour in a traditional editor finishes in seconds.
Does LosslessCut reduce video quality?
No. Because the video is not re-encoded, the trimmed file keeps 100% of the original quality. The streams are copied bit for bit into the new file.
Is LosslessCut free?
Yes. LosslessCut is completely free and open source, available for Windows, macOS, and Linux from the official GitHub releases page.
Does this work with formats other than MP4?
Yes. LosslessCut supports most common container formats, including MP4, MOV, and MKV. As long as you keep the same format and codecs, the export stays lossless.
Conclusion
If you regularly work with large recordings, LosslessCut deserves a permanent place in your toolkit. In my test it turned a 1-hour Premiere Pro export into a 49-second job, with zero quality loss and a file that shrank from 21GB to 3.2GB. Download it from the official GitHub page, drag in your video, mark the part you need, and export. It really is that simple.
Watch the full video tutorial above to see the whole process live, and if this guide saved you time, check out more time-saving tutorials here on Tips2Fix.
