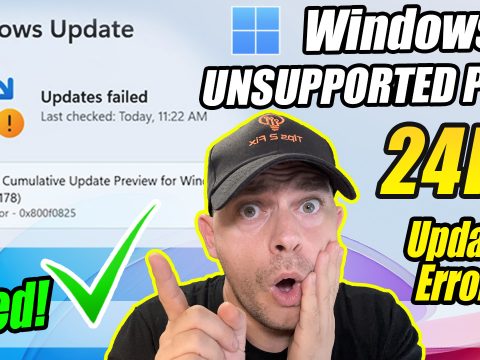
Windows 11 has been making waves in the world of operating systems since its release, offering a fresh and modern user experience. Microsoft is committed to improving its latest OS by releasing regular updates, and the Windows 11 23H2 update is no exception. This latest update, released on October 31, 2023, is packed with new features and essential bug fixes. However, if you’re one of the users facing the issue of the update not showing up, don’t worry. In this blog post, we’ll guide you through the process of getting and installing the Windows 11 23H2 update manually.
Why Is the Update Not Showing Up? Before diving into the manual installation process, it’s essential to understand why the Windows 11 23H2 update might not be showing up on your PC. Several factors can contribute to this issue, such as compatibility, regional availability, or specific settings on your system. Sometimes, Windows updates are rolled out gradually to ensure a smooth release. However, if you’re eager to experience the new features and bug fixes, manual installation is the way to go.
How to Get Windows 11 23H2 Update Manually: To manually install the Windows 11 23H2 update on your PC, follow these steps:
- Check Compatibility: First, make sure your PC meets the minimum system requirements for Windows 11. You can find this information on the official Microsoft website. If your system doesn’t meet these requirements, you won’t be able to install the update.
- Backup Your Data: It’s always a good practice to back up your important data before making significant system changes. You can use an external hard drive, cloud storage, or built-in Windows backup features for this purpose.
- Download the Update: To get the Windows 11 23H2 update manually, you’ll need to visit the official Microsoft website. Microsoft provides the update files for direct download. Ensure you download the correct version for your system architecture (32-bit or 64-bit).
- Run the Installer: Once the update files are downloaded, run the installer. Follow the on-screen instructions to initiate the update process. Your computer may need to restart several times during the installation.
- Configuration: After installation, you’ll need to configure the update settings. Make sure to choose the appropriate settings that suit your preferences.
- Enjoy the New Features: Once the update is successfully installed, you can start exploring the new features and experiencing the improved performance of your Windows 11 system.
Conclusion: The Windows 11 23H2 update is a significant release from Microsoft, bringing in new features and vital bug fixes. While the update might not show up automatically for everyone, manually installing it is a straightforward process if you follow the steps outlined in this blog post. Just ensure your PC meets the system requirements and make a backup of your data before proceeding. With Windows 11 23H2, you can enjoy an even better and more refined Windows experience.
So, if you’ve been eagerly waiting for the Windows 11 23H2 update and it hasn’t shown up on your PC, don’t worry—take matters into your own hands and enjoy the latest and greatest from Windows.
Download Windows 11
Download 23H2 Update HereHow to Install Windows 11 23H2 on Unsupported PC (New Method 2023)
Google Drive Link
Download Windows 11 23H2 BypasserDownload Direct Link
Direct Download BypasserOriginal Author Script Link
Visit GitHub Original Post/SctriptDownload Windows 11 ISO File
Download Windows 11 ISO File Official WebDownload PC Helth Check
Download PC Helth Check 2023


